
To pre-assign breakout rooms:
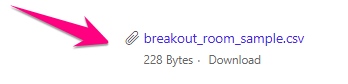
1. Scroll to the bottom left of this article, download the attached breakout room template file, and fill it out with: 1) room numbers and 2) Warriorlife email addresses
- Note: If you want to avoid doing this for each period, try putting all of your students into one file and you can use up to 50 rooms
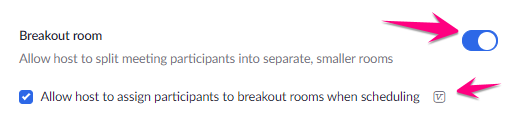
2. Sign in to https://vcs.zoom.us, click Settings in the left menu, and make sure you have both Breakout room settings checked
3. Click Meetings in the left menu, then click Schedule a Meeting

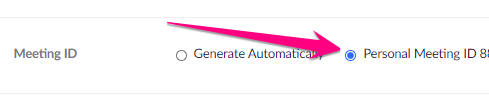
4. Don't worry about any of the meeting info except for these 2 areas:
- Select Personal Meeting ID
- Uncheck Add watermark

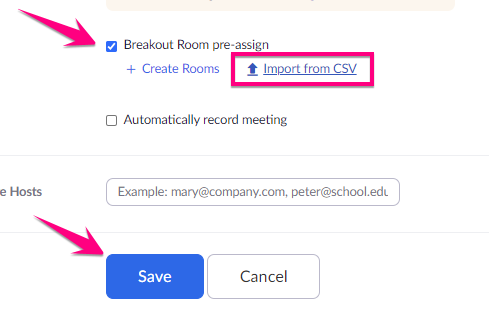
5. Check Breakout Rooms, then click Import from CSV and upload your breakout room template, then click Save
- Note: Do NOT click create rooms, this feature does not work for us
6. Start a new meeting and click the Breakout Room button on your toolbar to access your pre-assigned breakout rooms

7. Here is some additional information on using pre-assigned breakout rooms
Comments
0 comments
Please sign in to leave a comment.