
As good as our spam filters may be, sometimes legitimate email winds up being quarantined by either the ProofPoint spam filter or by the built-in Outlook Junk Email folder. Here is a quick guide to access and manage false-positives (a legitimate email message that was inaccurately marked as spam).
The first thing to do is to check your two spam filters for the expected message. Check your Outlook “Junk E-mail” folder. If you find this filter to be too lenient or too restrictive, the settings can be modified to suit your needs. For example, if you find a false-positive you can simply right click on the message, select the “Junk Mail” option and then “Not Junk” (on Mac it’s “Mark as Not Junk”).
You can also white-list the sender so future messages won’t be caught. This will then free up the message and send it to your inbox.
Further, you can always go in to “Junk Email Options” (on Mac it’s called “Junk Email Protection”) and adjust the sensitivity levels to suit your needs moving forward.
The second and more common place to look for false positives is in the Proofpoint spam filter.
This is an example of the daily digest message everyone receives twice daily, which is sent from the email address, do-not-reply@proofpointessentials.com.
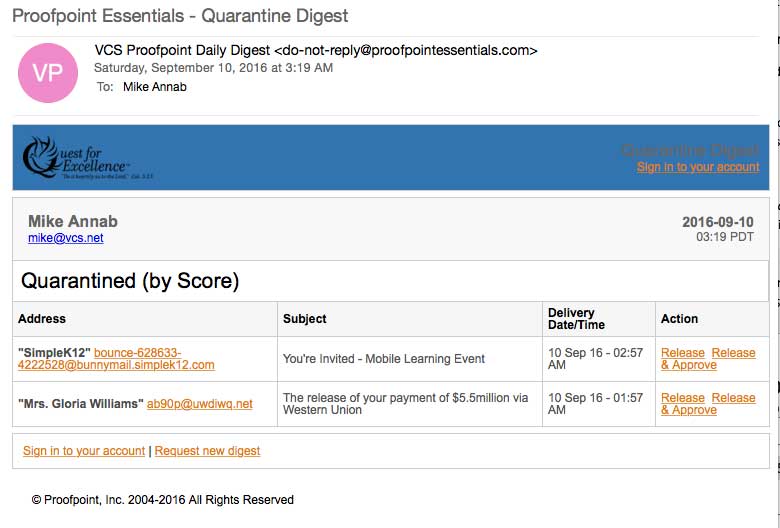
Since it arrives to your inbox twice daily and is very accurate, it is easy to start ignoring it. But this is where false-positives can be found, and where you can whitelist any sender so that their message will no longer be considered spam.
Some email from parents may wind up here and since each faculty and staff person have control over their own settings, it is up to you to use this tool make sure desired senders are whitelisted.
Here are some helpful tips:
- To move an email to your inbox, click "Release" next to the desired message
- To move an email to your inbox and add the sender to your Allowed Senders list, click the "Allow" link next to the desired message
- Clicking on links in this report, including a date heading or message subject, will open up your online quarantine and display the appropriate info
If you have questions about this knowledge base topic, please feel free to leave a comment below.
Comments
1 comment
Awesome. This really helped me out a lot.
Please sign in to leave a comment.